
What are Assessments?
Assessments are detailed reports on an individual student’s progress during a course. They combine teacher comments with test results and grades to provide a comprehensive overview of the student’s performance.
Assessments can be:
- Printed or emailed (individually or in bulk)
- Created by either teachers or School Admin
This tutorial explains how to create and manage Assessments as a School Admin.
👉 For teachers, there is a separate tutorial available here.
The Student’s Assessments Card:
The Student’s Assessment Card stores all evaluations and feedback for a student, including comments, test results, and grades. This what it looks like before anything is added:
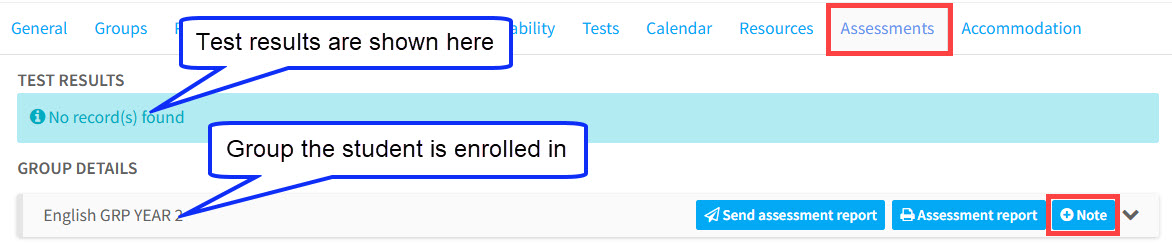
Test Results:
Tests that a student has completed—either through the Registration Module or those shared by their teacher—will display their results here.
For more details on tests, there is a tutorial here.
Notes:
Notes are comments written by teachers about specific areas of a student’s studies. The subjects available for comments are created and managed in School Admin – Settings – Notes. To add a comment click the “Note” button.
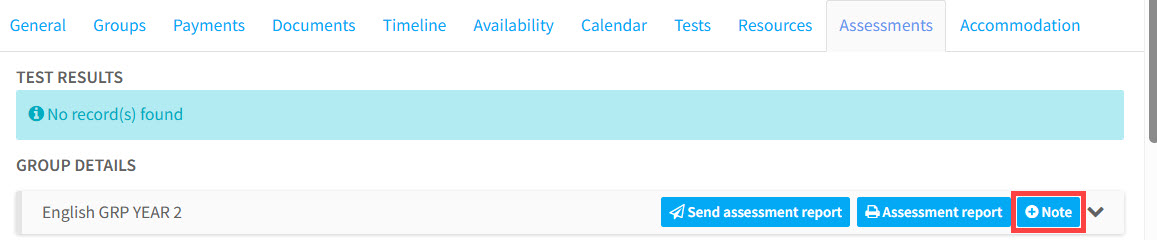
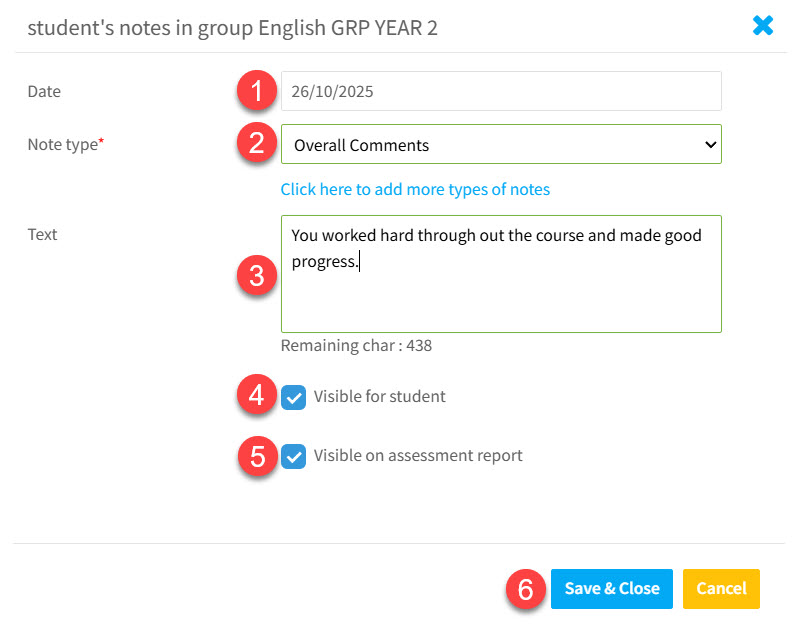
When the “Note” button is clicked a card will appear:
- The current date automatically filled in.
- A dropdown menu to select the subject of the note.
- A text box to enter comments.
- A checkbox to allow the student to view the note when logged in.
- A checkbox to include the comment in the printed assessment.
- Click “Save & Close”.
You can add as many notes as you wish by repeating the steps above.
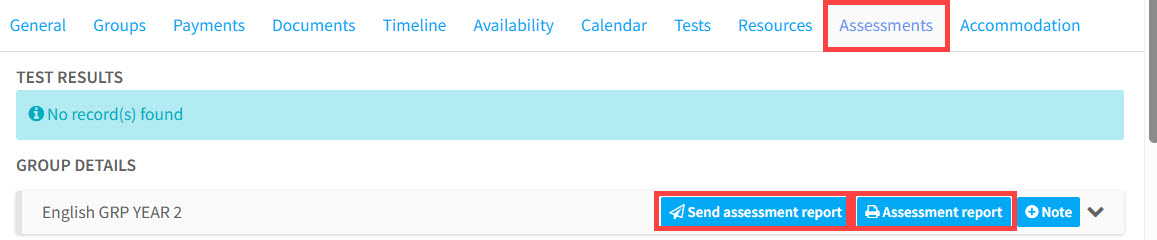
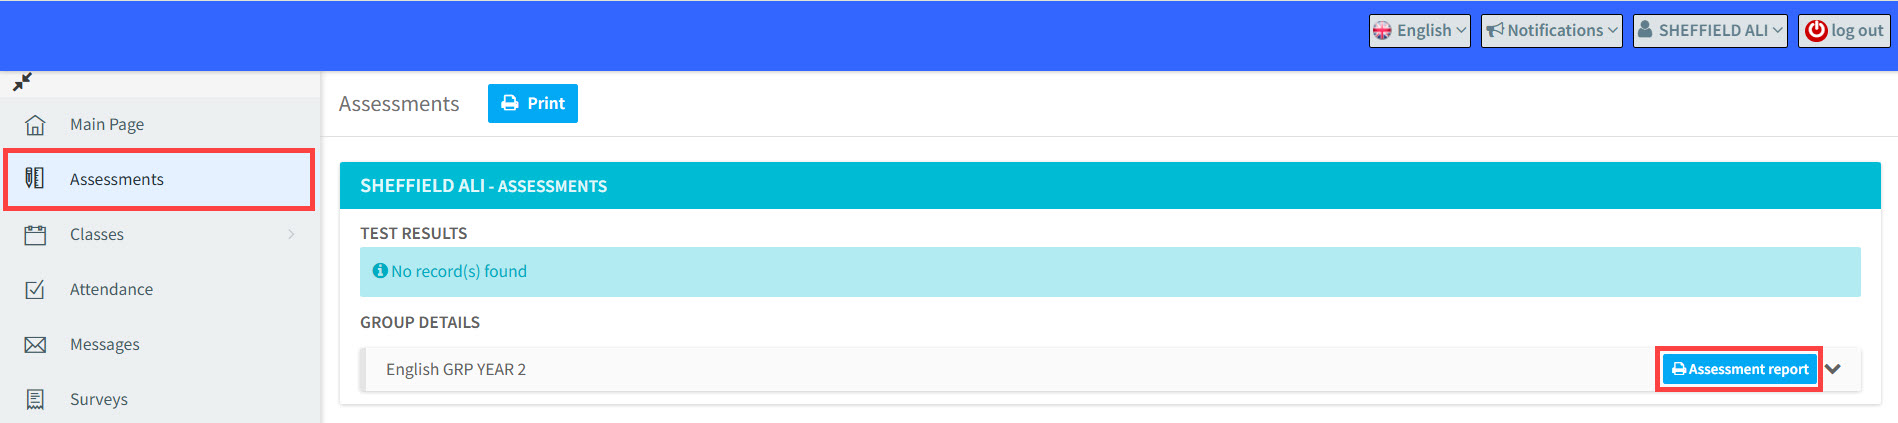
Emailing and Printing the Assessment for individual students:
Once all comments have been added, you can email or print a student’s assessment by clicking the appropriate button.
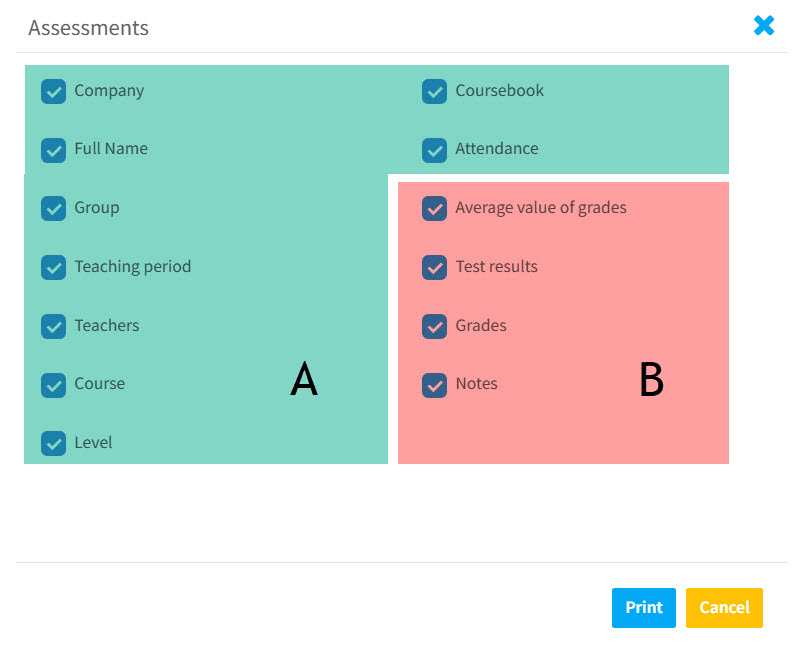
Whichever you choose to do, a card will appear allowing you to select which fields to include in the assessment
- Area A: General items from the student’s Group Card.
- Area B: Student-specific items added by the teacher.
After you click “Print”, the individual assessment will either be emailed to the student or printed out.
Emailing Assessments in bulk:
You can also email assessment reports to multiple students at once based on the Groups they are in.
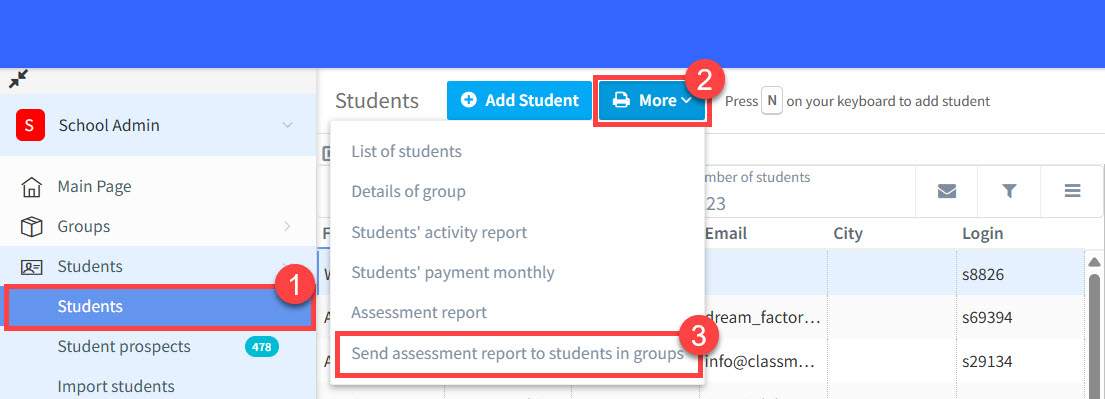
- Go to Students.
- Click “More”.
- Click “Send assessment report to students in groups”
Once you have done that, a list of all your Groups will appear, select the groups whose students you want to send assessments to:
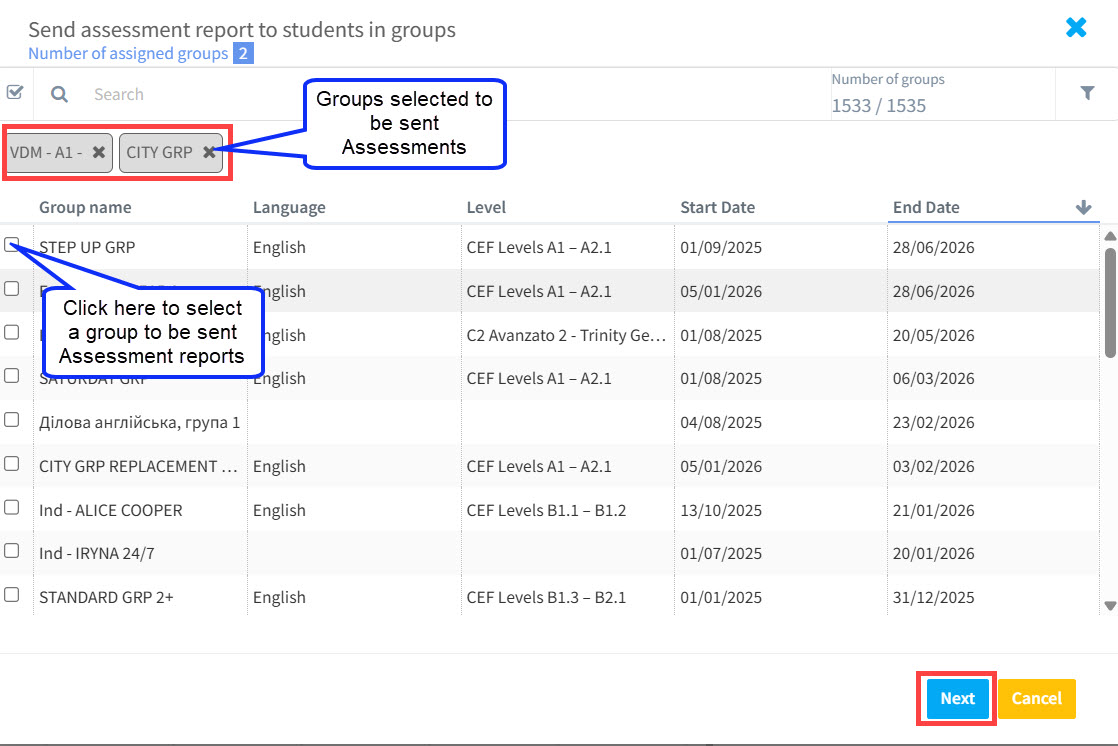
Once you click “Next” choose the fields to include in the assessment (as described above).
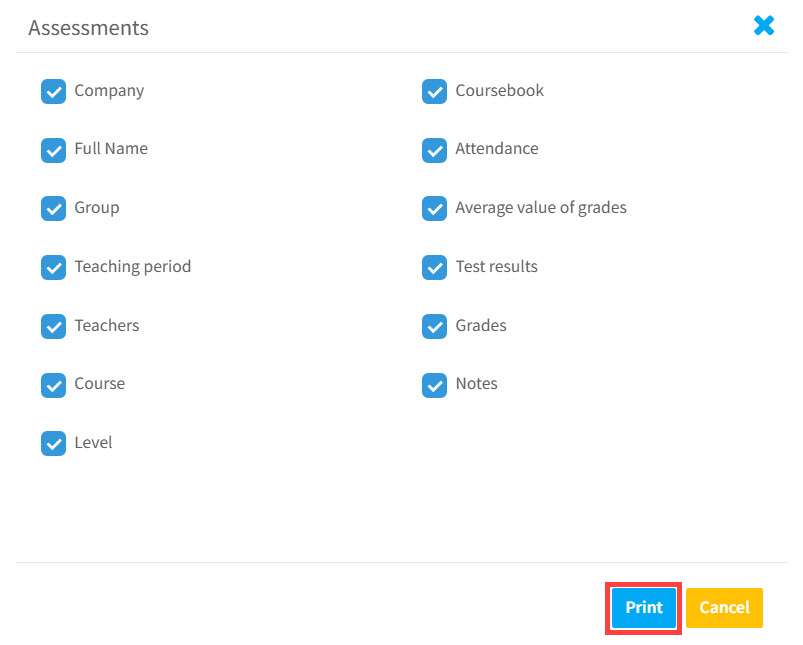
Clicking “Print” will send Assessments to all the students in the selected groups with email addresses.
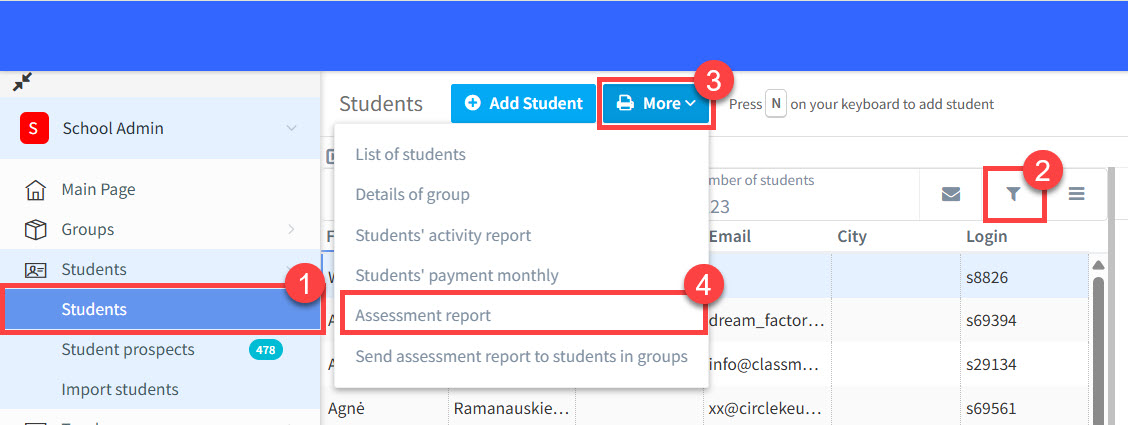
Printing Assessments in bulk:
If you want to print assessments for more students at the same time, use the mass print option.
- Go to Students.
- Filter the students to show only those whom you want assessments for.
- Click “More”.
- Select “Assessment report” from the drop-down menu.
Select which items you want to appear (see above) in the assessment and click “Print”.
Other Points:
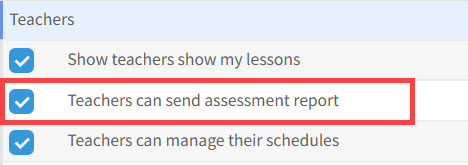
- As we’ve seen above, School Admin users can send Assessments to students via email. Teachers can also send Assessments to individual students after adding their comments — if they have been granted permission in the system settings. Go to School Admin → Settings → Basic Settings → System Configuration. Tick this check box and Save changes.
- Different users may select different fields to appear in the Assessment Report. – The system will always use the most recent configuration for printing or sending reports.
- Students can see their assessments when they log in to their SchoolMate account and click here:
Related Tutorials:
Tutorial for teachers on creating Assessments here.
Tutorial for students seeing their Assessments here.